
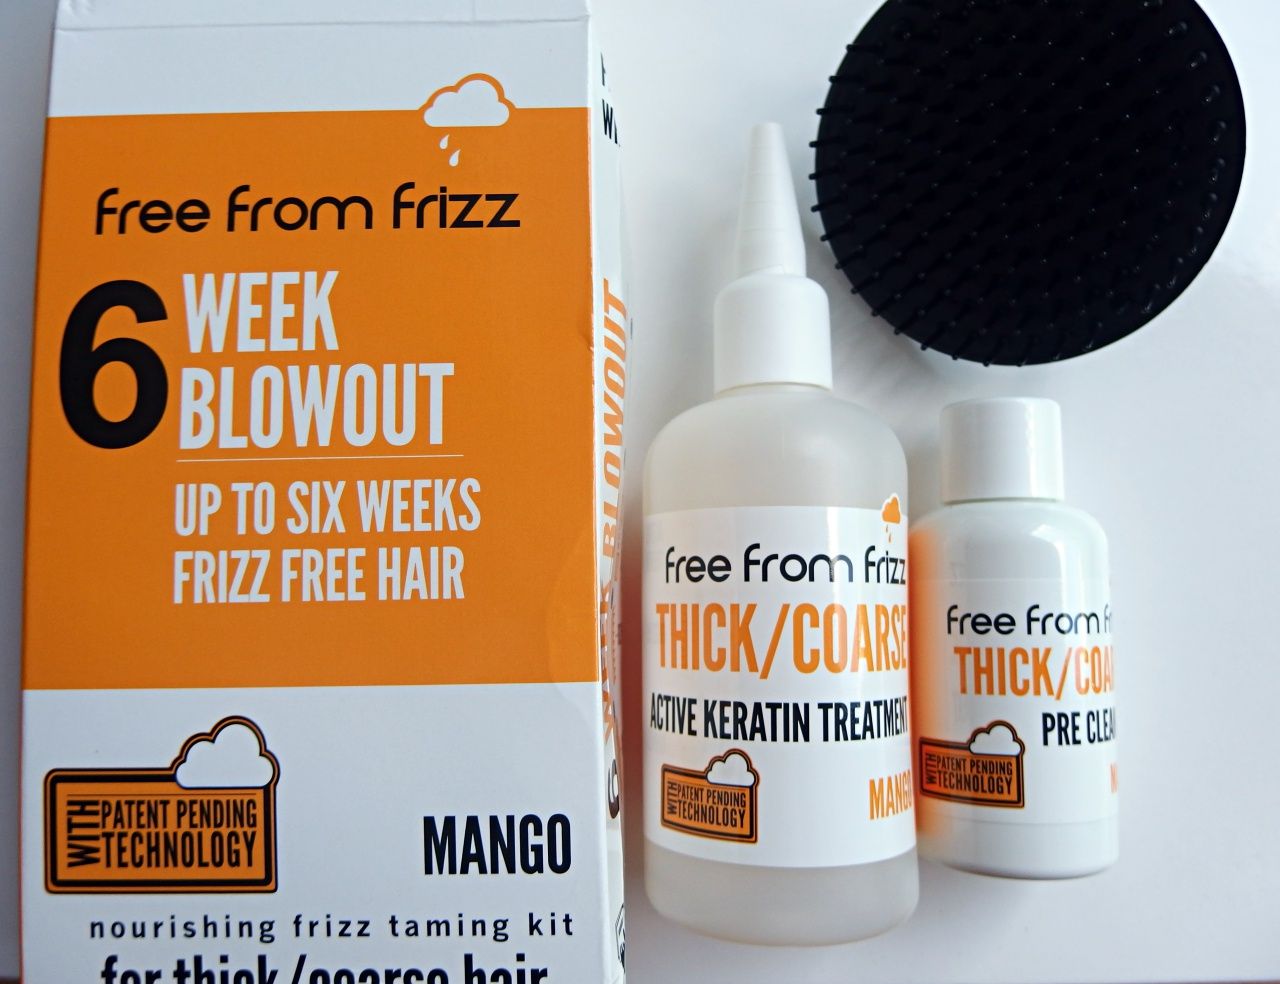
I have had heard so much about Free From Frizz lately that it was only a matter of time before I put it to the test myself. My hair is very thick, wavy and frizzy – what a delight, that I was hoping this could be the perfect product for me. Free From Frizz is a treatment that promises to offer up to 6 weeks of frizz free hair, blocking humidity and giving you weightless silky hair. There is also a range of shampoo and conditioners to maintain it and they come in a thin and thick hair version.
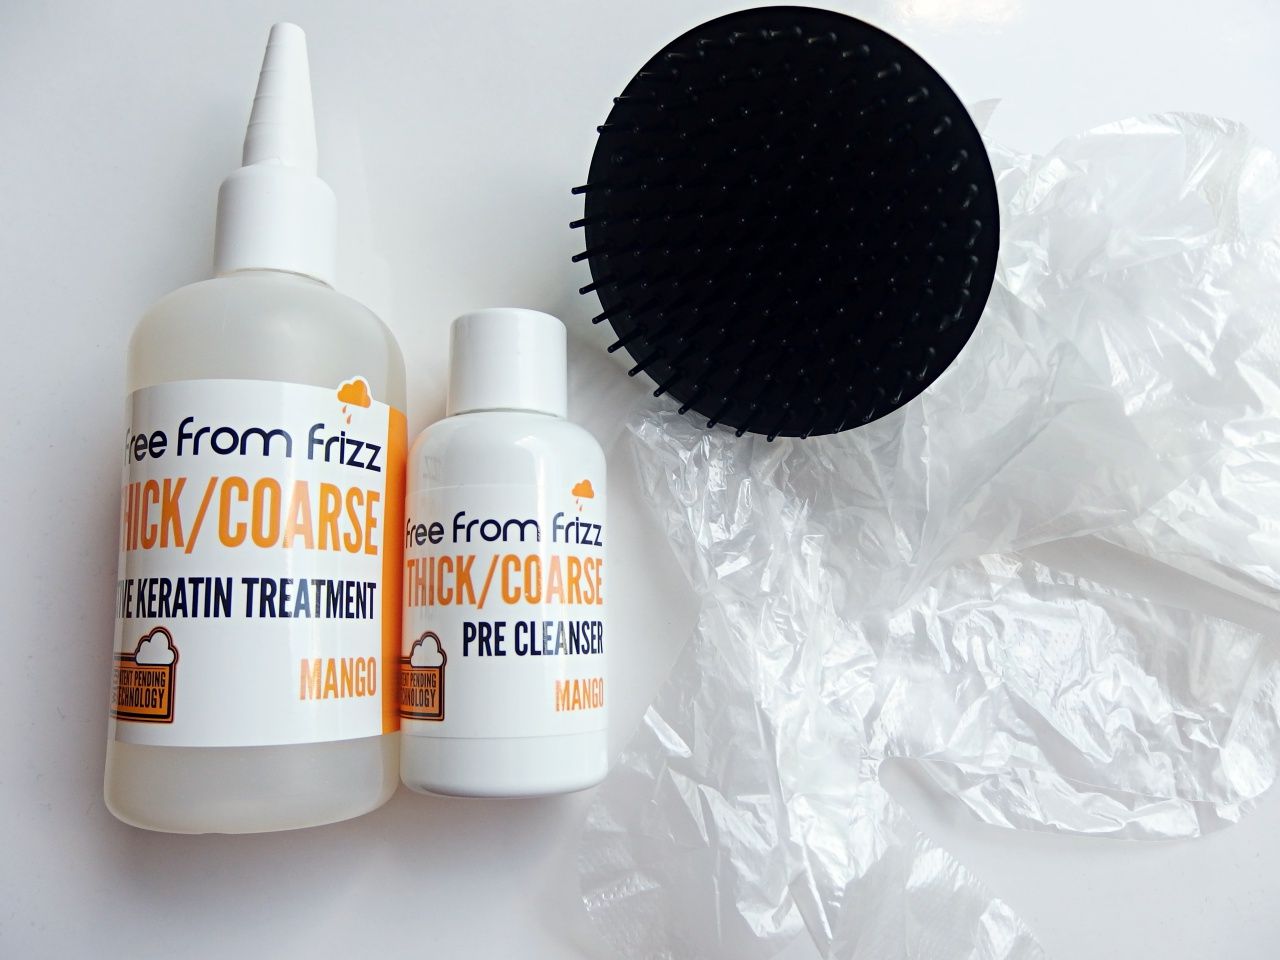
I tried out the treatment for Thick/Coarse hair which like the Shampoo/Conditioner has a Mango scent. The thought of frizz free hair for 6 weeks sounded so exciting, I’m always fighting frizz when drying my hair so if this helped it would surely be a winner. The treatment kit comes with a Pre Cleanser, the Active Keratin Treatment, plastic gloves and a Denman brush to comb it through. The whole process sounded quite complicated from the leaflet but once I followed it step by step it was pretty easy. You really want to set aside some time to do this as it takes quite awhile and also you need two days afterwards not to wash your hair!
Steps to Frizz Free Hair
1. Wash hair using warm water and cleanse it with the Pre Cleanser shampoo twice. Leave the last shampoo on for 5 minutes and comb through using the brush. Rinse well with warm water and do not condition.
2. Towel Dry/Blow Dry hair leaving it slightly damp, divide into 3 sections. Shake the Keratin Treatment and using the nozzle applicator apply to hair as even as possible and brush downwards using the brush. Repeat until hair is fully covered.
3.Allow treatment to absorb for 30-40 minutes. Towel or Blow Dry hair to slightly damp.
4. Section off and straighten using ceramic irons, an average of 6-7 passes are required.
5.Do not wash hair for 48 hours to allow the treatment to set and/or tie it up.
Now I wanted to cover the steps just so you get the jist of how it works. I wasn’t quite sure how much of the treatment to use so I used half the bottle which seemed to work fine on my hair which is mid length. Applying it was really simple to do. However I was a bit nervous about straightening each section 6-7 times as my hair is dry from already using heat on my hair and also having coloured hair as well, but I persisted with it. It’s maybe good to do this on a weekend so you have two days set aside to let it develop. My hair was fine over this time and was just as normal if I hadn’t washed it.
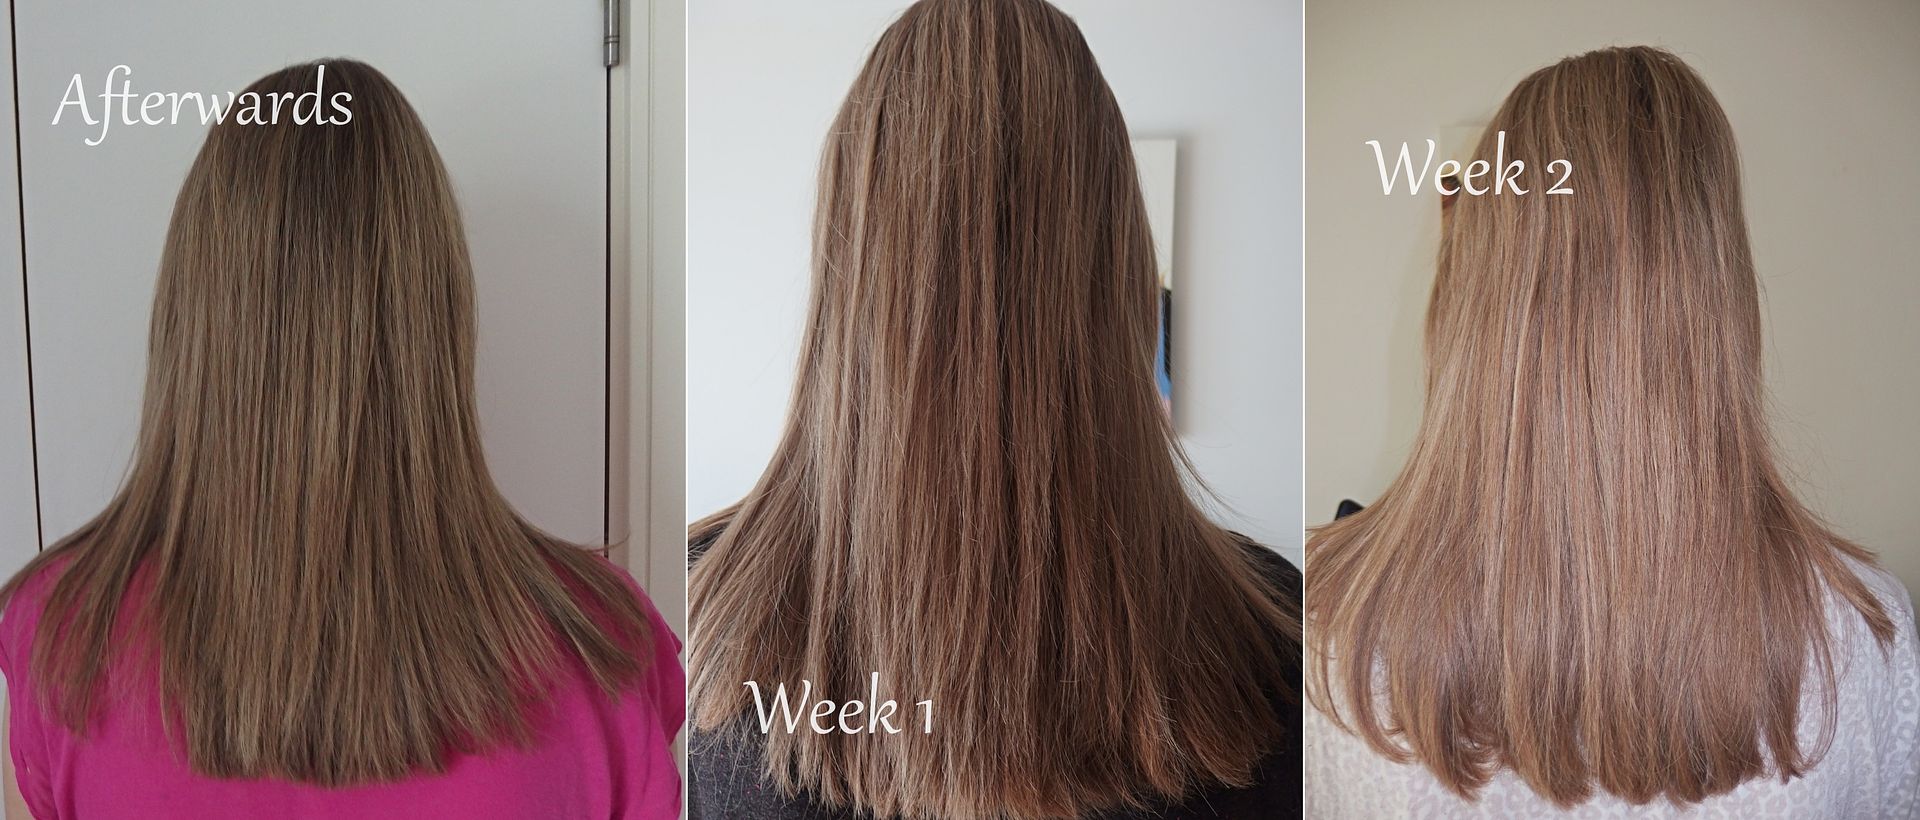
The Results
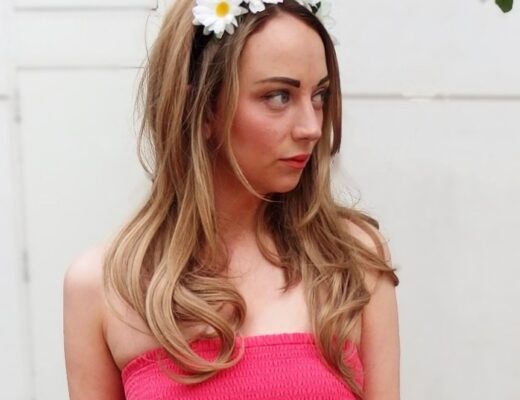
So after the treatment it felt smooth and it stayed like this throughout the first week after washing. I felt however that my hair was very dry at the ends after using the treatment so I have been using a couple of conditioning treatments and now by the end of week two it is in much better condition and still frizz free as you can see below. The ultimate test is going out in London’s rain showers to which it succeeded!
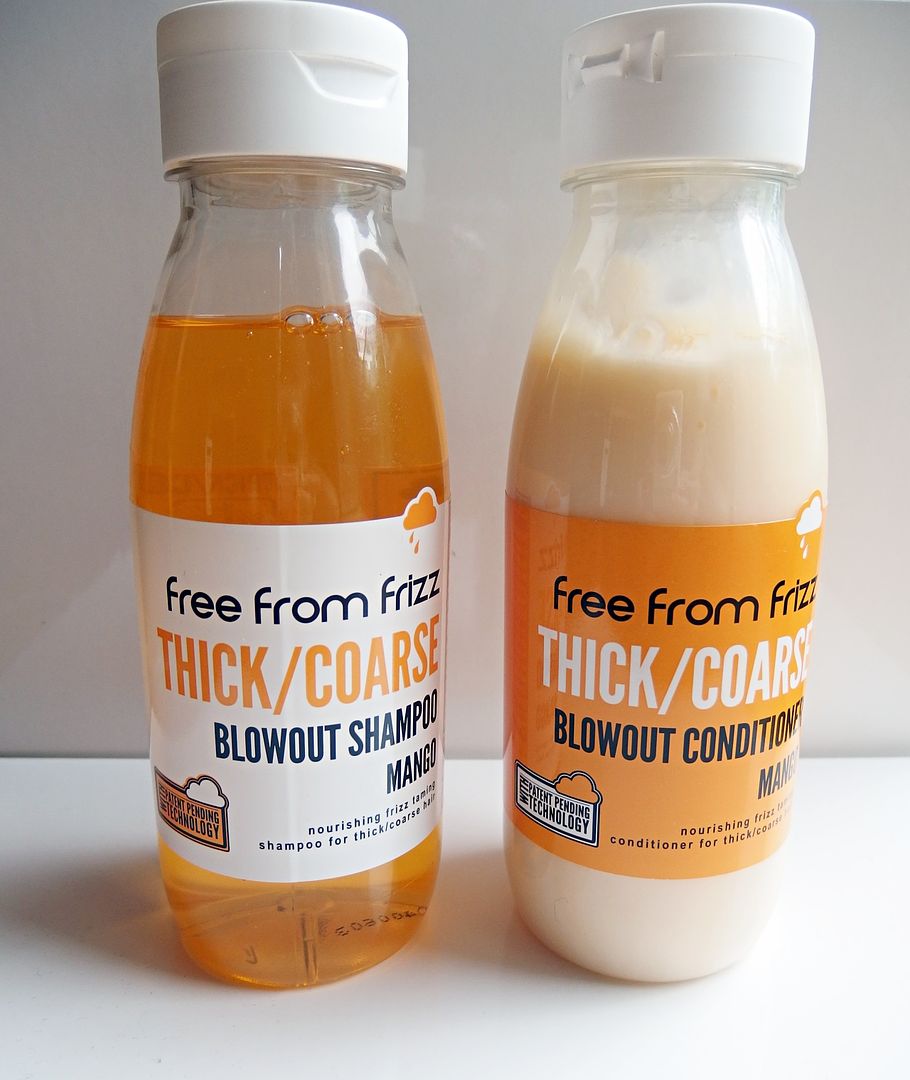
I have been following up with the shampoo and conditioner which if you didn’t fancy the treatment I would recommend to use, I love the mango smell it smells amazing and the shampoo leaves my hair feeling squeaky clean like I’ve had a proper blowout!
Overall I think the treatment did work and I think it’s worth putting in the effort to get the results. I would say be careful if your hair is dry like mine and make sure to follow-up with conditioning treatments. I can’t wait to see how it performs over the next 4 weeks. The treatment and shampoo and conditioner are available to buy priced at £26.97 for the set.
This post may contain affiliate links, meaning when you click the links and make a purchase, we can receive a commission.


1 Comment
Rachel
June 3, 2014 at 15:14OOh the more I see this, the more I want to try it x